DIY Handmade Notebook
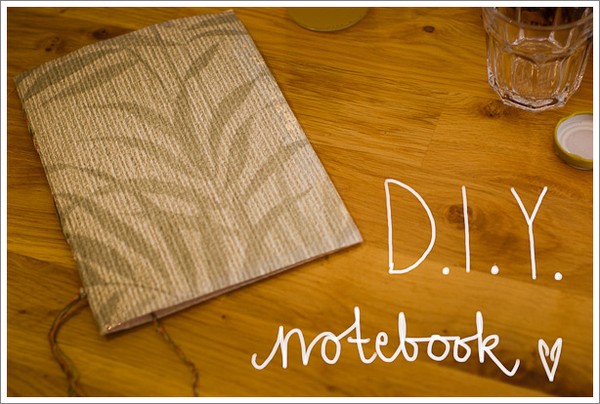
Visst kan du köpa en ny och fin anteckninsbok, men så mycket roligare att göra den själv! Det här är ett pyssel som legat och gnagt inom mig länge, länge. Nu är det gjort och jag är barnsligt nöjd!
Sure, you can buy a new and fancy notebook, but isn't it so much more fun to make one yourself? I've been wanting to try this DIY for such a long time. Now it's done, and I'm sooo proud!

1.
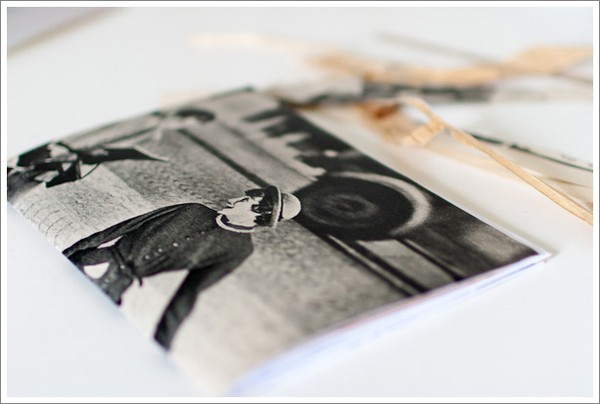
Välj ut ett antal pappersark som ska bli sidorna i din bok, inte för många om du som jag är nybörjare, då blir det svårare. Alla sidor behöver ju inte vara kritvita, pröva att blanda in gamla tidningssidor exempelvis. Jag slängde in två sidor från en fransk Elle från 50-talet och en papperspåse...
Choose sheets of paper for the pages of your book, not too many if you just like me are a beginner. All your pages don't necessary have to be white, try mixing in old newpapers for example. I used two pages from a 1950's French Elle and a small paperbag...
2.
Fold your paper sheets at the middle and place them inside each other.
3.
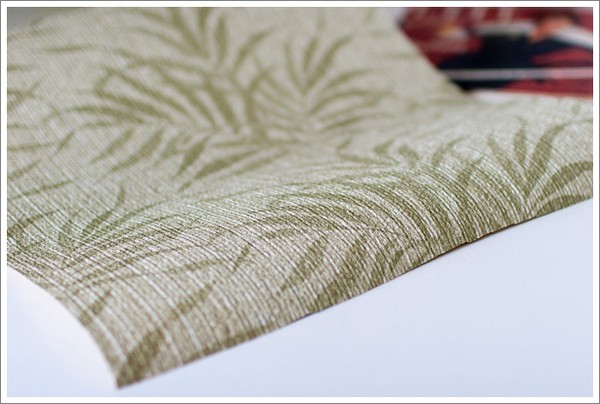
Välj ditt omslagspapper. Jag använde en gammal tapet från mina morföräldrars hus.
Choose a cover. I used an old wall paper from my grandparents house.

4.
Klipp omslagspappret till önskad storlek, förslagsvis lite större än själva boksidorna.
Cut your cover to the size you want, preferrably just a bit larger than the book pages.
5.
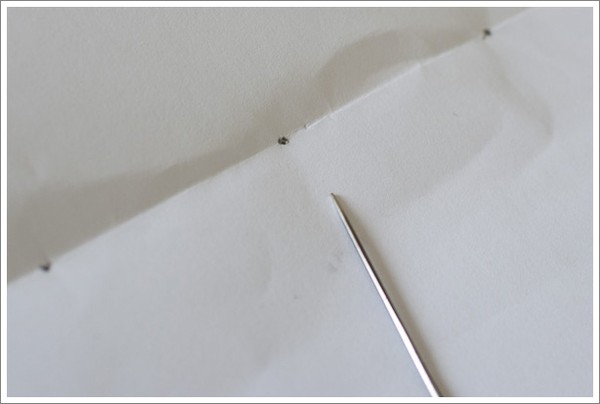
Use one of your paper sheets as a template and mark where you want holes to stitch it all together. The more holes you make, the more sturdy it will be, but also more time consuming. I decided that five holes was enough for me. Use a needle to make holes through your template and all the other book pages, a few paper sheets at a time is easiest. Make sure to place your holes evenly through all the pages of your book.


Använd ett pappersark som mall och rita ut var du vill ha dina hål för att sy ihop boken. Ju fler hål du gör, desto stadigare blir det, men också mer pilligt och tidskrävande. Fem hål fick räcka för mig. Använd en nål för att göra hål genom mallen samt alla andra boksidor, några i taget så går det lättast. Var noga med att sätta hålen jämnt.
Use one of your paper sheets as a template and mark where you want holes to stitch it all together. The more holes you make, the more sturdy it will be, but also more time consuming. I decided that five holes was enough for me. Use a needle to make holes through your template and all the other book pages, a few paper sheets at a time is easiest. Make sure to place your holes evenly through all the pages of your book.
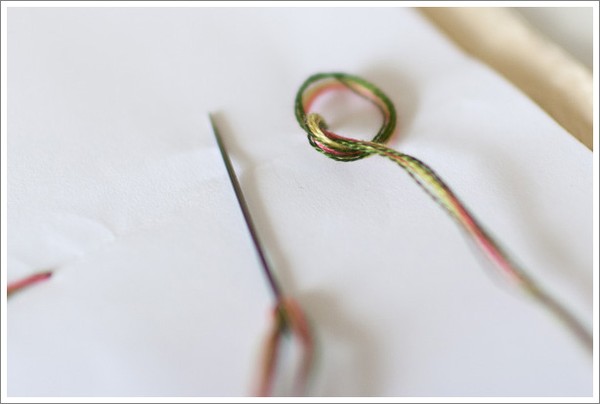
6.
Choose a thread to stitch your book. I used embroidery thread in three different colours.
Välj tråd att sy ihop boken med. Jag använde brodyrgarn i tre olika färger.
Choose a thread to stitch your book. I used embroidery thread in three different colours.
7.
Du kan sy ihop din bok på säkert tusen olika sätt. Jag började längst ner på bokryggen och gjorde en liten tofs.
I'm sure there are a thousand ways to stitch your book. I started at the bottom of the spine of the book, and made a small tassel.
8.


Sy genom alla hålen och fäst tråden ordentligt när du är klar.
Stitch through all the holes and secure the end of the thread.
9.
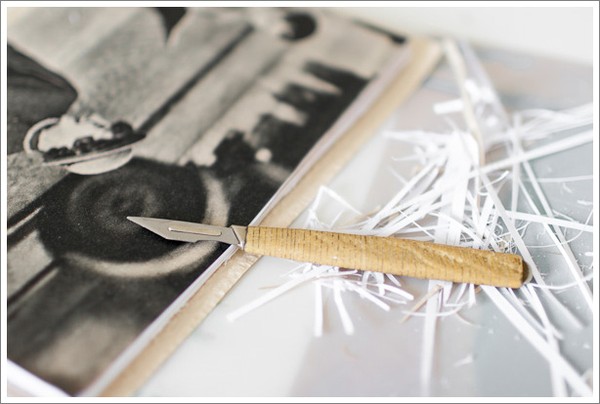
Med största sannolikhet kommer du att upptäcka att dina boksidor är lite olika långa (eller breda, kanske är mer korrekt att säga?). Så blir det ju när man viker dem på mitten och stoppar dem i varandra. Du kan jämna till dem med hjälp av en liten kniv, eller helt enkelt bestämma dig för att det är snyggt som det är.
You will most likely discover that the pages of your book are not of the same length (or is 'width' more correct?) now. That happens when you fold them at the middle and put them all together. You can use a small knife to correct it, or simply decide that you like it just the way it is.
10.
Jag satte helt vanlig tejp längsmed kanterna på mitt bokomslag för att göra det lite mer stabilt. Syns knappt.
I placed ordinary tape alongside my book cover, to make a little more firm. You can hardly see it.
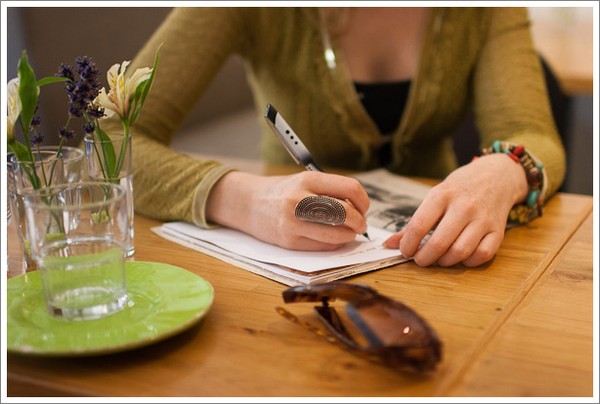
Klar! Nu kan du ta med din fina bok till ett café och väldigt diskret och heeelt oavsiktligt visa upp den för de andra cafébesökarna.
And you're done! Bring your cute and handmade notebook to the nearest café and show it, discreet and unintentional of course, to the other guests.
Comments
Posted by: Ann-Christin
Men du fantastiska människa!! Det är ju det HÄR jag ska pyssla med nästa fredag kväll då jag förhoppningsvis är fri och ensam och ledig. Har den perfekta tapeten som omslag som bara ligger och väntar i källaren. Kommer att imponera ögonbrynen av kollegorna på jobbet :)
Svar:
Linn
Posted by: Lina Steén
Åh så fint!
Blev inspirerad att göra något liknande själv, att skriva ned små tankar och idéer i!
Posted by: Anicet Heller
Here it is...thank you! I found your secret..to notebooks.:)
How wonderful! I used to make the gifts I presented to people for many years, it is time I return to this noble act again..<3
Svar:
Linn
Trackback